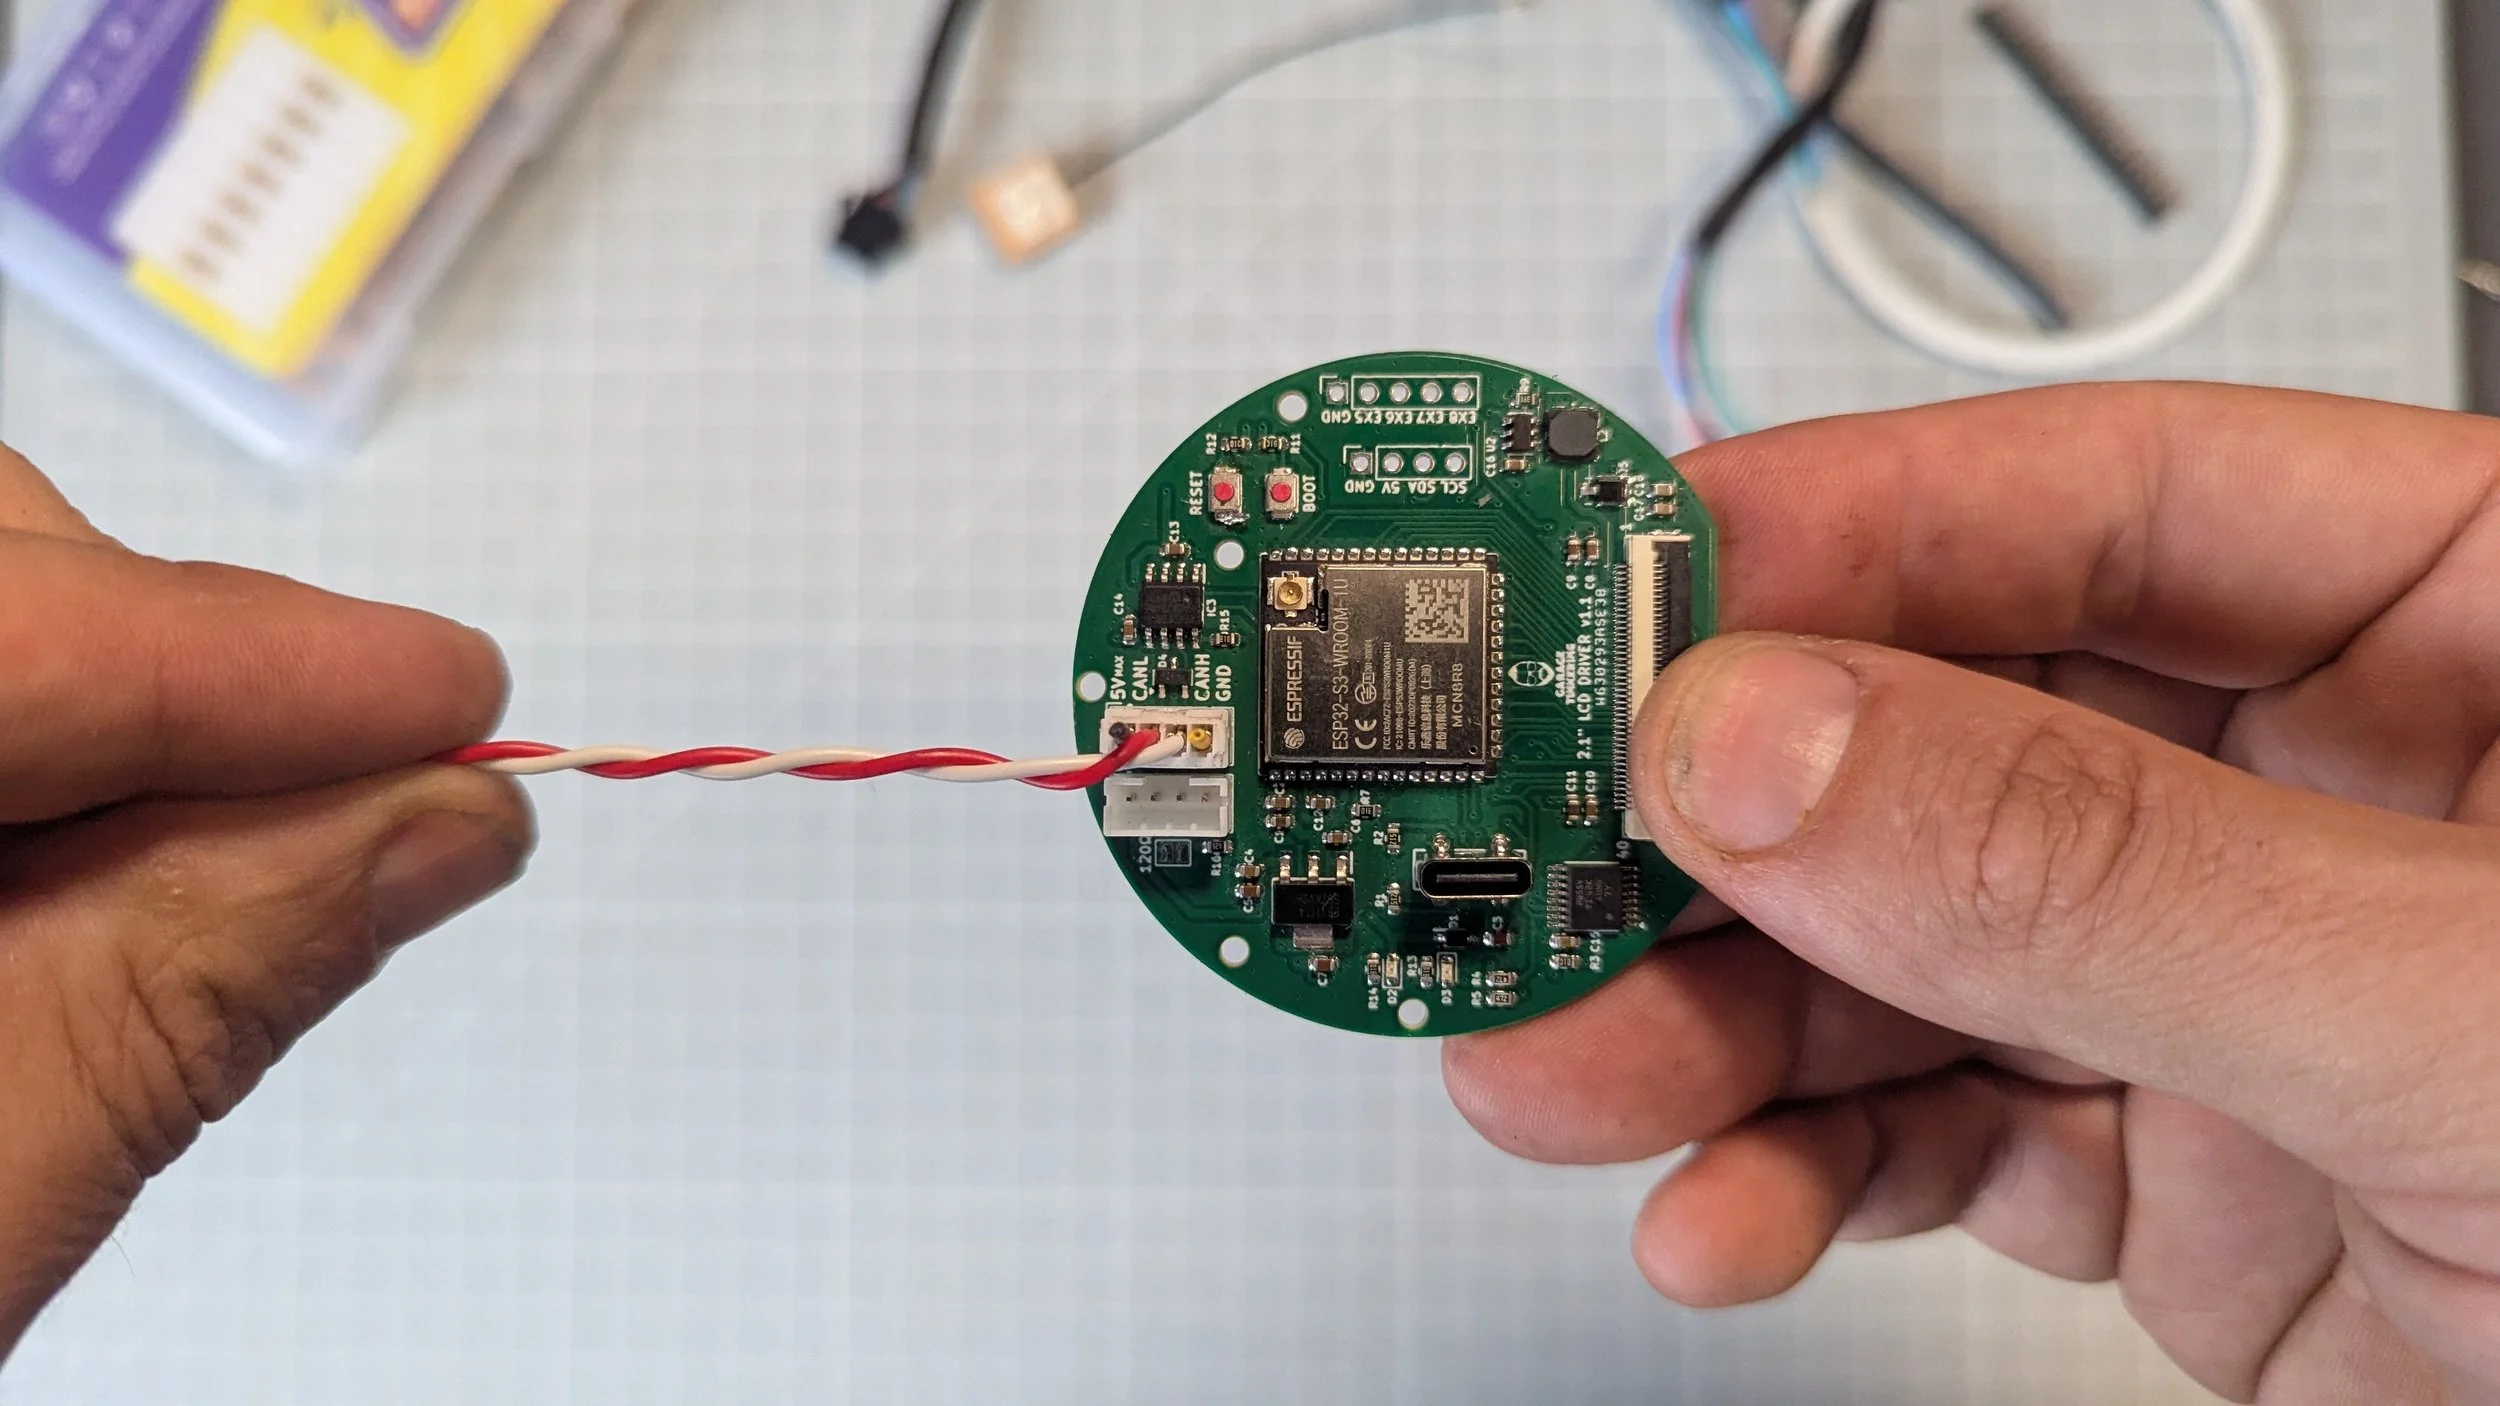
ULTIMATE GAUGE BOARD SETUP
So you want to setup an Ultimate Gauge Board? Let’s get started.
NOTES
This setup currently only supports Arduino IDE and PlatformIO. An ESP-IDF alternative is coming soon.
When you first connect the board to a PC / Mac, you may note it constantly chimes connected / disconnected every few seconds. Don’t worry, this is normal for a previously unflashed ESP32. Once you upload your first piece of code, that will stop.
Choose your environment

ARDUINO IDE
STEP 1: INSTALL DEPENDENCIES
A couple of dependencies are required to run this setup. Latest versions of the libraries will likely be fine, but I’ve included tested and working version numbers in case you require those.
ESP32_Display_Panel@1.0.0: https://github.com/esp-arduino-libs/ESP32_Display_Panel
ESP32_IO_Expander@1.0.1: https://github.com/esp-arduino-libs/ESP32_IO_Expander
esp_now@2.5.2: https://github.com/espressif/esp-now
lvgl@9.2.2: https://github.com/lvgl/lvgl
LVGL will require setting up and initialising properly in order to work. Ensure you follow the setup completely and place the lv_conf.h file in the library root as instructed in the config. In order to run this demo, no changes other than setting the ENABLE to 1 are required.If you don’t have it already, you will require ESP32 boards manager to be added to Arduino IDE. To ensure you have this add the following in “File > Preferences > Additional boards manager URLs”
https://espressif.github.io/arduino-esp32/package_esp32_index.json
STEP 2: DOWNLOAD BASIC SETUP
The current basic setup file is available on GitHub, so you can either download and place the extracted folder in with your Arduino projects, or just fork the repo if you know what you’re doing with that.
NOTE: currently the repo is read-only, but over time as I build on it and get the standards for the build defined, I will begin opening it up for open source development so you can push your own features. There is a lot of work to be done to get it there though, and will likely by happening Q1 2026.
STEP 3: SETUP the IDE
Connect your board to your computer, and select it in the dropdown. Don’t worry if it keeps connecting and disconnecting. This is normal with previously unflashed ESP32s. Once we upload some code it will stop.
When prompted for the type of board, choose “ESP32S3 Dev Module” from the “esp32” sub-menu
Open up “Tools” and ensure all of the board options within there match the screenshot below. Unless you know what you are doing. Changes to the setup may cause the demo not to work.
STEP 4: FLASH THE BOARD
If all this has been followed correctly, flashing the Ultimate Gauge Board should now just work.
Click “Upload”, wait (how long depends on your machine), and hopefully everything uploads correctly. Any issues then just go back through the guide and make sure nothing has been missed - especially in the Tools, or if you’re still getting problems then drop me a message (email is in the footer or you can get me on Discord) and I can likely talk you through it.
If all is well, you should see a large white spinner in the middle of your screen.
If you’re not using the ultra-bright screen provided in my bundles, you may need to change the setup. Display commands are all in “Display_ST7701.cpp”. Unfortunately I cannot help config other screens, but pretty much any ST7701/s screen should work fine, and you may just need to change the screen’s height, width etc in “Display_ST7701.h”
STEP 5: HAVE A PLAY
The demo spinner is pretty simple, but it should show you whereabouts you need to start coding from.
ESPNow, TWAI / CAN, the I2C, and screen dimming are all setup and good to go out of the box. You can start playing with that using the demo code provided.
It is highly recommended to utilise the FreeRTOS tasks for the CAN data otherwise it will block LVGL’s tick timer and you’ll end up with a 1fps display, which isn’t ideal. Again you can see how this is setup in the demo.
You can use Set_Backlight() function with values from 0-100 to see what the screen looks like at different brightnesses, but I find the screen is totally black under 5, so I personally set my lower limit at about 10-15.
Otherwise, try dropping in some different LVGL components and get a feel for the relationship between ESPNow and LVGL, or TWAI and LVGL, depending if you’re going wireless or wired for data.
If you’re new to LVGL, don’t worry, I have a full new video series coming out about using it starting in Sept, so look out for that

PLATFORMIO
STEP 1: DOWNLOAD THE SETUP
The current basic setup file is available on GitHub, so you can either download and place the extracted folder in with your PlatformIO projects, or just fork the repo if you know what you’re doing with that.
The joys of PlatformIO is that the rest of the setup should be taken care of for you by the .ini file config
NOTE: Due to the ongoing spat between PlatformIO and Espressif, the “official” Arduino integration is no longer maintained and updated, so this project uses the open source pioarduino platform as it’s base, meaning we still get access to the latest ESP-IDF features.
STEP 2: BUILD THE PROJECT
All the dependencies should be correctly set up and ready to go. Just press build within PlatformIO’s controls and you’re done
STEP 3: HAVE A PLAY
The demo spinner is pretty simple, but it should show you whereabouts you need to start coding from.
ESPNow, TWAI / CAN, the I2C, and screen dimming are all setup and good to go out of the box. You can start playing with that using the demo code provided.
It is highly recommended to utilise the FreeRTOS tasks for the CAN data otherwise it will block LVGL’s tick timer and you’ll end up with a 1fps display, which isn’t ideal. Again you can see how this is setup in the demo.
You can use Set_Backlight() function with values from 0-100 to see what the screen looks like at different brightnesses, but I find the screen is totally black under 5, so I personally set my lower limit at about 10-15.
Otherwise, try dropping in some different LVGL components and get a feel for the relationship between ESPNow and LVGL, or TWAI and LVGL, depending if you’re going wireless or wired for data.
If you’re new to LVGL, don’t worry, I have a full new video series coming out about using it starting in Sept, so look out for that

